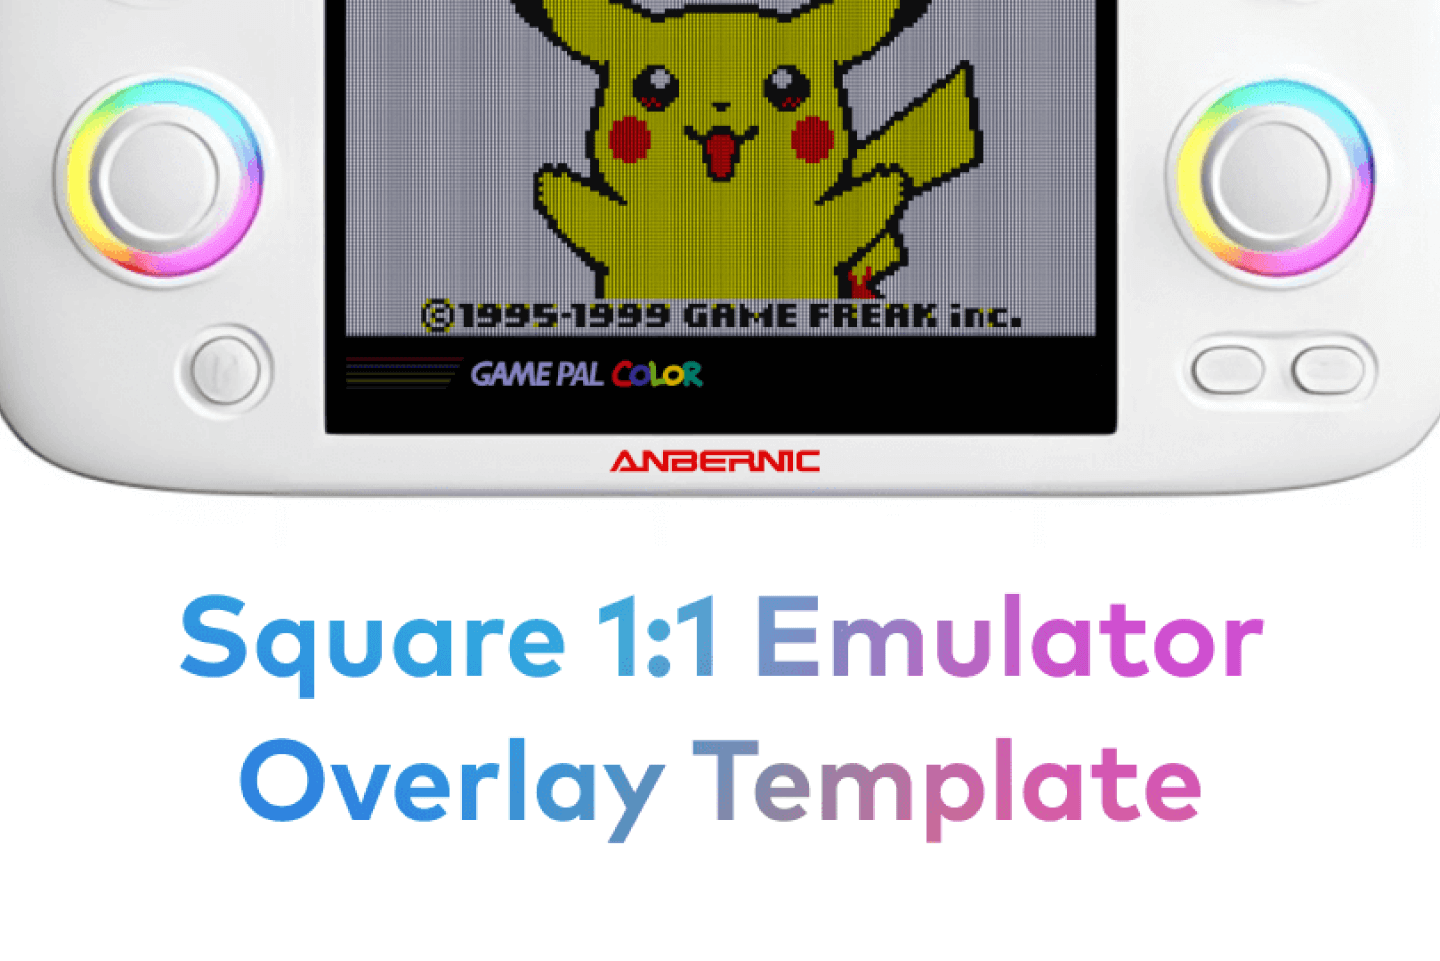
I recently purchased an Anbernic RG Cube XX to add to my ever growing handheld collection. I love getting unique handheld gaming devices, and the Anbernic RG Cube XX caught my eye due to it's 1:1 ratio screen.
Most handhelds have a 2:3 or 3:4 aspect ratio screen, making them great for Gameboy Advance games, but not so great for original Gameboy and Gameboy Color games.
Once the RG Cube XX arrived, I got MuOS installed, added my ROM files, and dove straight into learning how to add overlays and shaders to really get that old school texture while keeping the beauty of the IPS screen. Retro Game Corps has this great guide on YouTube, which I recommend if you want to add them to your own emulator devices.
After following the aforementioned guide, I realized the tutorial only provided overlays for 2:3 or 3:4 ratio screens. Like I said, the RG Cube XX has a 1:1 screen, so none of the overlays or settings mentioned in the video worked nicely.
So me being who I am, I decided to make my own overlays and have made them available to download for free. They include layouts for Gameboy DMG, Gameboy Pocket, Gameboy Color, and Gameboy Advance! I also included a fun version of each with a nod to the app I made with my friend Jeremy called GamePal.
To be transparent, these are inspired on the Perfect Overlays by Reddit user 1playerinsertcoin. I took the grid they made and translated it to a 720x720px size, including a border to account for the weird 10:9 ratios that original Gameboy games had!
Here are 2 options for swapping out the overlays, whether you want to use mine or make your own!
Create Your Own Using the Figma Template
If you'd like to go the extra mile, you can make your own overlays as well. I've put the files that I used in a template format on Figma for you to use and have fun with.
You can find the Figma template here →
Download My Pre Made Overlays
Instead, if you just want to download and start using the overlays yourself, follow these instructions to download and start using them! Note that these instructions are specifically for MuOS, for other emulator OS I recommend looking at this guide from Retro Game Corps.
- Download the overlays (including the necessary config files) for free here.
- Shutdown your emulator device and put the SD card with your OS into your computer.
- Unzip the file.
- Place all of the files from the zip file in MuOS → Retroarch → Overlays → Place Here
- Eject your SD, put the SD back in your emulator, and turn your emulator back on.
- Change your Retro Arch settings to use the overlays specific to each Core.
- Ready to go!